Showing posts with label 3rd grade. Show all posts

May 2, 2013

Recycled Cardboard City

We had the best time today making a Cardboard City!

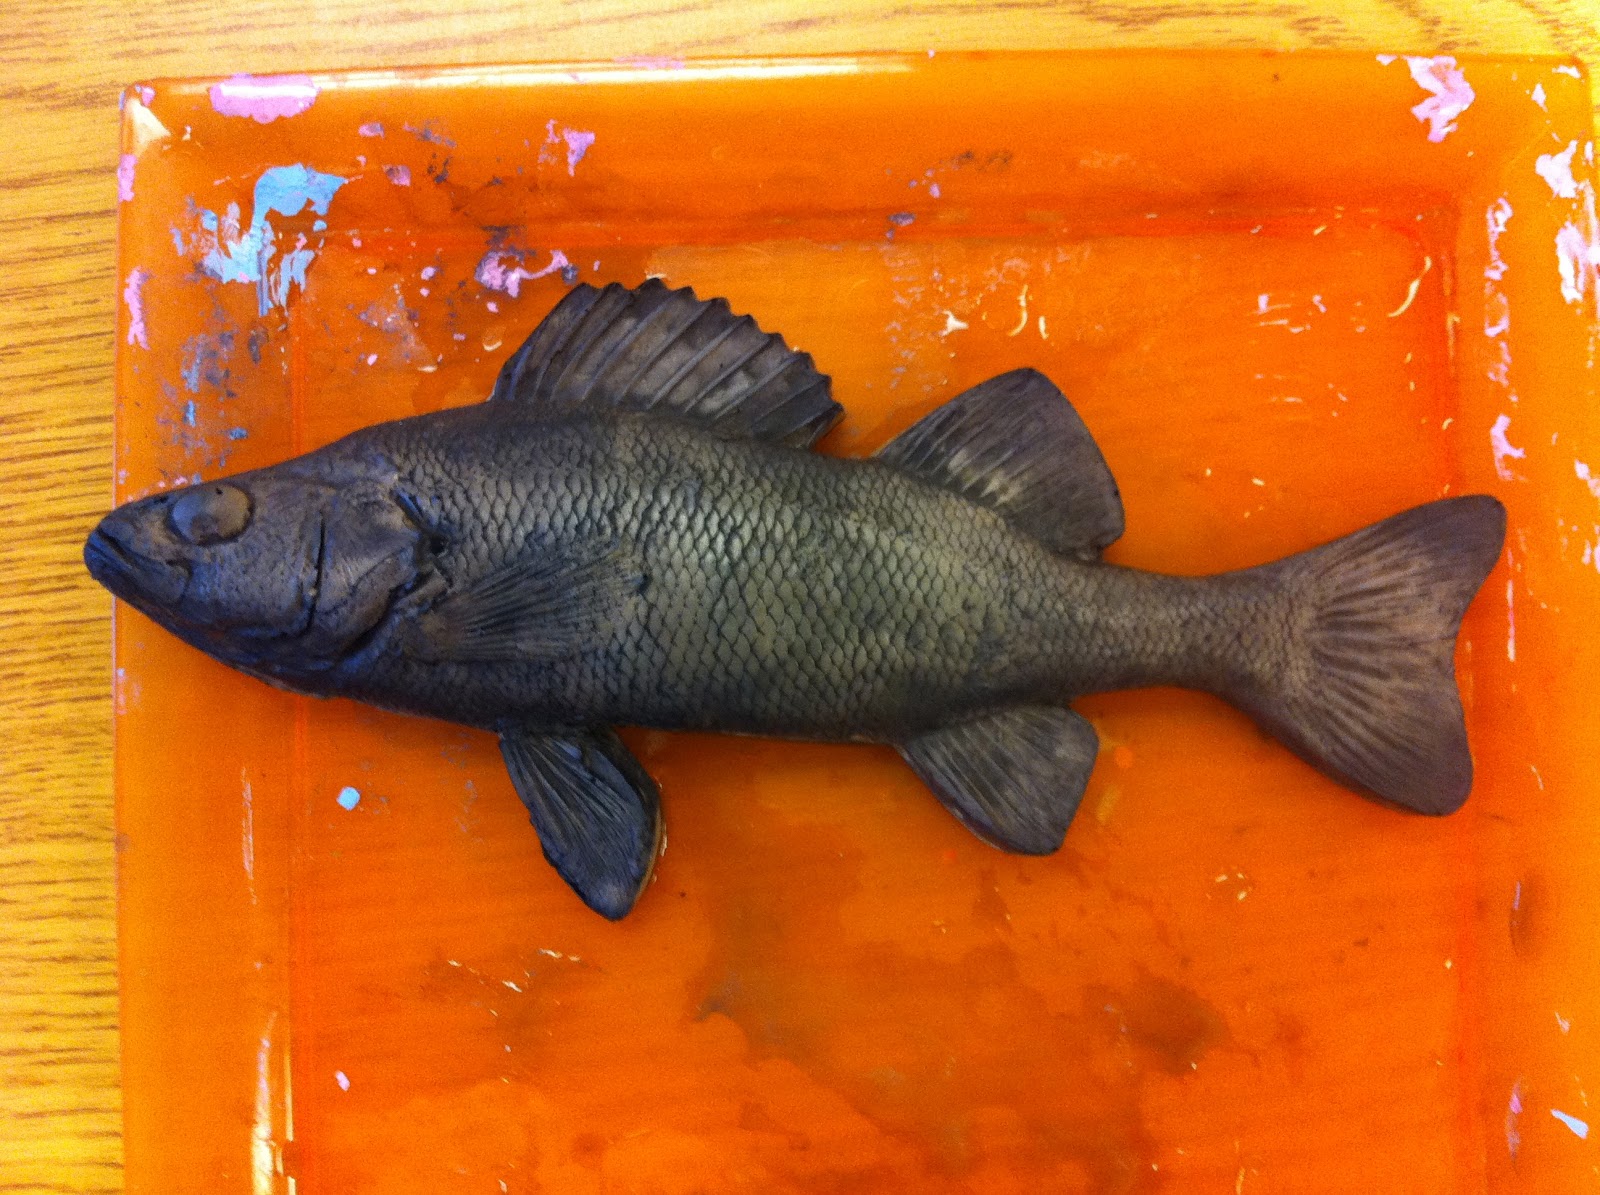
We have been studying relief sculptures in clay and continued in Cardboard. Lowly cardboard became a golden material as kids sifted through it to find the perfect pieces. Some groups worked together to create different buildings in the city. There is a church, a hotel, and lots of houses. It was the perfect group project for this "active" class of mostly boys because it allowed for independent creation and selective collaborations. In the end, without prompting, one boy put some buildings in the center of the room to see how they looked together, everyone followed his lead. So easy, so engaging, and so very creative.


THIS MY FRIENDS IS A PLANE . . . CAN'T YOU TELL!
WHAT DO YOU EXPECT WITH A BUNCH OF 3RD GRADE BOYS.

2ND AND 3RD GRADE OBJECTIVE
I LOVE MY OBJECTIVE ON THE BULLETIN BOARD.
IT HELPS ME REMEMBER WHAT I'M DOING SOME MORNINGS
AND IS EASY TO KEEP UP WITH.

"I CAN MAKE A RELIEF SCULPTURE USING FOUND MATERIAL"


April 30, 2012

1 Fish 100% Success! Easy Gyotaku.

Here's a project with a 100% guaranteed success!
To get inspired I told the students the history of the Gyotaku. Some classes watched this PREZI. Others I just told the story of the history of Japanese Gyotaku. My spiel goes something like this. . I asked the students if they have ever seen a picture of a person holding a fish, looking very proud of his or her catch (I acted out my best proud fisherman pose.) Most said they had. I asked WHY would the fisherman want a picture with their catch? Most said to remember the fish and size. What if we didn't have cameras? How would we remember or show others the fish we caught after we ate it, sold it or threw it back? I then showed them the Gyotaku process and explained that Gyotaku means print fish in Japanese. Now artists make Gyotaku for it's beauty and not to record the size of their catch!


First we created the background details with oil pastels. I had handouts and posters with undersea plants  for them to get inspiration from.
Next we did a watercolor wash of ocean colors. The paper was a little moist which worked great for the prints. I carried an old towel with me to dry papers that were too wet. 
Finally we printed our fish. We don't have a big budget so I only have two rubber fish!


Rubber Fish from Dick Blick art supplies
Your probably wondering how I got around to all the tables with ONE fish.
Actually I'm lying I have two but I only brought out one.
I found when I was in control of the fish it went a lot more smoothly!
I applied the ink and kids put their paper on the top and pressed down.
ONE SECOND AND DONE! NEEEEEXT!
I have one hour and some classes with 25 kids.
We did it! The students finished their backgrounds at different rates which helped and we discussed that when they finished they were ONLY printing the fish if their behavior was PERFECTION.
So guess what? Their behavior was perfection, even the most challenging ones!

MAKE YOUR LIFE EASIER ADVICE!
Have students put the paper on the fish, NOT the fish on the paper.
This means no ink will get on their hands.
If students put the fish on the paper you are in for a long line at the sink!

Very smart! Have students write vocabulary word on the back of their paper!
This way they are more likely to remember it.